How to Remove Silence from Audio: Complete Guide 2026
Removing silence from audio files is essential for creating professional content, improving listening experience, and saving storage space. This comprehensive guide covers everything you need to know about audio silence removal in 2026.
What is Audio Silence Removal?
Audio silence removal is the process of identifying and eliminating periods of silence or near-silence from audio recordings. This technique is crucial for:
- Podcasts and audiobooks - Removing dead air between sentences and paragraphs
- Music production - Cleaning up recordings and reducing file size
- Video content - Tightening dialogue and improving pacing
- Voice recordings - Creating more engaging and professional presentations
- Automated systems - Processing large volumes of audio content efficiently
💡 Did You Know?
Removing silence can reduce audio file sizes by 30-60% on average, saving significant storage space and bandwidth costs for content creators and businesses.
Why Remove Silence from Audio Files?
There are several compelling reasons to remove silence from your audio files:
1. Improved Listening Experience
Long pauses and dead air can make content feel sluggish and unprofessional. Removing unnecessary silence keeps listeners engaged and maintains the flow of your audio.
2. Reduced File Size
Silence takes up space in audio files. By removing it, you can significantly reduce file sizes, making files easier to share, faster to upload, and cheaper to store.
3. Professional Quality
Professional audio content has tight editing with minimal dead air. Silence removal is a standard practice in broadcast, podcast, and music production.
4. Better SEO and Engagement
For online content, shorter files with better pacing lead to higher completion rates, which positively impacts search rankings and audience retention.
Methods to Remove Silence from Audio
Method 1: Manual Editing (Traditional Approach)
Using audio editing software like Audacity, Adobe Audition, or Reaper to manually identify and cut silence:
- Visual identification of silent sections in waveform view
- Manual selection and deletion of quiet parts
- Time-consuming but offers precise control
- Best for: Single files requiring artistic decisions
Method 2: FFmpeg Command Line
FFmpeg provides powerful silence removal capabilities through command-line filters:
ffmpeg -i input.mp3 -af silenceremove=start_periods=1:start_duration=0:start_threshold=-60dB output.mp3
- Free and open-source solution
- Requires technical knowledge
- No graphical interface
- Best for: Developers and technical users
Method 3: Automated Online Tools (Recommended)
Modern web-based tools like BahaaSR Pro offer the best of both worlds:
- Upload files and process automatically
- No software installation required
- Batch processing for multiple files
- Consistent results with optimized algorithms
- Best for: Content creators, podcasters, and professionals
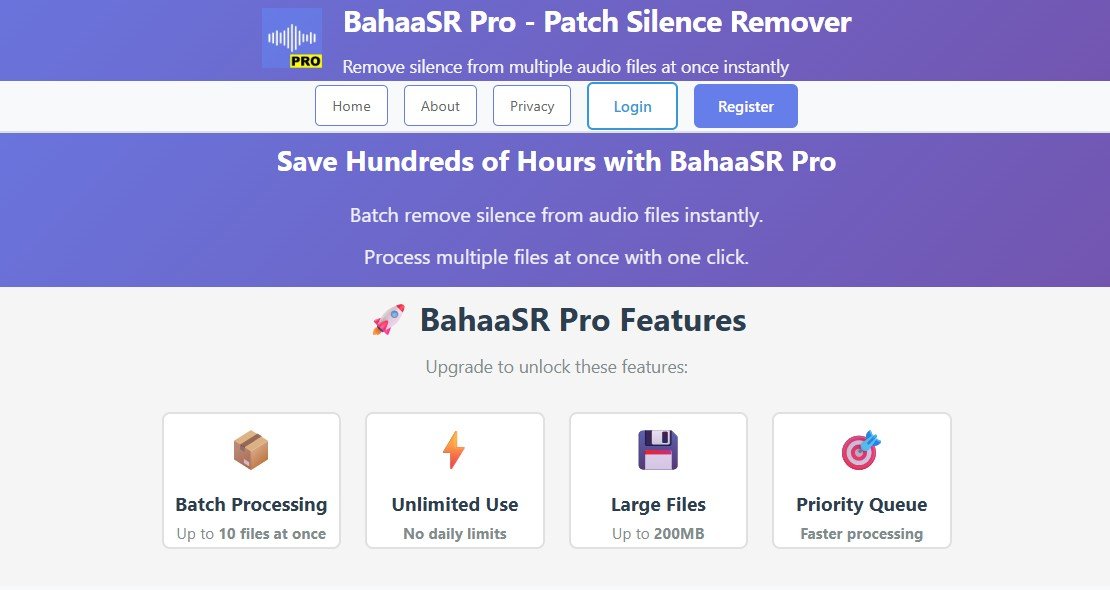
🚀 BahaaSR Pro Features
- Process up to 10 audio files simultaneously
- Support for files up to 200MB each
- Advanced silence detection algorithms
- Preserve audio quality while removing silence
- Download processed files instantly
Understanding Silence Detection Parameters
To effectively remove silence from audio, you need to understand key parameters:
Threshold Level (dB)
The volume level below which audio is considered "silence". Typical values:
- -60dB: Standard for most speech content
- -50dB: More aggressive, catches room noise
- -70dB: Conservative, only removes complete silence
Minimum Duration
How long a quiet section must be before it's removed. Common settings:
- 0.1 seconds: Aggressive removal, tight editing
- 0.5 seconds: Balanced approach
- 1.0 seconds: Conservative, maintains natural pauses
Step-by-Step Guide: Remove Silence from Audio
Using BahaaSR Pro (Easiest Method)
- Visit BahaaSR Pro at https://pro.bahaasr.com
- Upload your audio file(s) - Drag and drop or click to browse
- Click "Process" - The system automatically detects and removes silence
- Download your cleaned audio file with silence removed
Using FFmpeg (Advanced Users)
- Install FFmpeg on your system
- Open terminal/command prompt
- Run the command:
ffmpeg -i input.mp3 -af silenceremove=start_periods=1:stop_periods=-1:stop_duration=0.5:stop_threshold=-60dB output.mp3
- Wait for processing to complete
Best Practices for Removing Silence
1. Always Keep Original Files
Before processing, make backup copies of your original audio. This allows you to re-process with different settings if needed.
2. Test Different Thresholds
Different audio sources require different threshold settings. Test with a sample before processing large batches.
3. Consider Your Content Type
- Music: Use conservative settings to preserve artistic intent
- Podcasts: Moderate settings for natural conversation flow
- Audiobooks: Aggressive settings to minimize dead air
- Lectures: Balanced approach to maintain clarity
4. Maintain Natural Rhythm
Don't remove ALL pauses. Brief pauses are essential for comprehension and natural speech patterns. Aim to remove only excessive silence.
Comparing Silence Removal Methods
| Method | Speed | Ease of Use | Batch Processing | Best For |
|---|---|---|---|---|
| Manual Editing | Very Slow | Medium | No | Single files, artistic control |
| FFmpeg CLI | Fast | Difficult | Yes (with scripting) | Developers, power users |
| BahaaSR Pro | Very Fast | Very Easy | Yes (up to 10 files) | Everyone, especially professionals |
| Other Online Tools | Medium | Easy | Limited | Casual users, small files |
Advanced Techniques
Multi-Pass Processing
For optimal results, consider a two-pass approach:
- First pass: Remove obvious silence at start and end
- Second pass: Remove internal silence with careful threshold settings
Combining with Noise Reduction
For best results, remove silence after noise reduction:
- Clean background noise first
- Then remove silence for cleaner cuts
Format Optimization
After removing silence, consider optimizing your file format:
- MP3: Best compatibility, good compression
- AAC: Better quality at same file size
- FLAC: Lossless, for archival purposes
Common Challenges and Solutions
Challenge 1: Removing Breathing Sounds
Solution: Use a higher threshold (-50dB) and shorter duration (0.1s) to catch breath sounds. Preview carefully to avoid cutting off natural speech.
Challenge 2: Preserving Music Intros
Solution: Adjust start_periods parameter or manually edit the beginning of your file before automated processing.
Challenge 3: Unnatural-Sounding Results
Solution: Increase minimum duration threshold or use less aggressive dB settings. Natural pauses improve comprehension.
Challenge 4: Processing Large Files
Solution: Use BahaaSR Pro which supports files up to 200MB, or split very large files into manageable chunks.
Ready to Remove Silence from Your Audio?
Try BahaaSR Pro today and experience professional audio silence removal with just a few clicks. Process up to 10 files at once with our advanced algorithms.
Start Processing Now →Frequently Asked Questions
Does removing silence affect audio quality?
No, when done correctly, silence removal only removes quiet sections without affecting the quality of the remaining audio. BahaaSR Pro uses lossless processing techniques to maintain original audio quality.
How much time can I save by removing silence?
Depending on your content, you can reduce file length by 20-40%. A 1-hour podcast might become 40-45 minutes after silence removal, significantly improving listening experience.
Can I remove silence from multiple files at once?
Yes! BahaaSR Pro allows you to process up to 10 audio files simultaneously, saving hours of manual editing time.
What's the difference between silence removal and noise reduction?
Silence removal eliminates quiet sections, while noise reduction cleans background noise from the entire audio. They're complementary techniques often used together.
Is it better to remove silence before or after editing?
Generally, remove silence after completing your main edits and mixing. This ensures you don't accidentally remove pauses you intentionally added.
Conclusion
Removing silence from audio is an essential skill for modern content creators. Whether you're producing podcasts, audiobooks, video content, or music, proper silence removal improves quality, reduces file size, and creates a more professional listening experience.
While manual editing and command-line tools exist, automated solutions like BahaaSR Pro offer the best balance of quality, speed, and ease of use. With support for batch processing and files up to 200MB, you can process your entire audio library efficiently.
Start removing silence from your audio today and experience the difference professional audio editing makes!